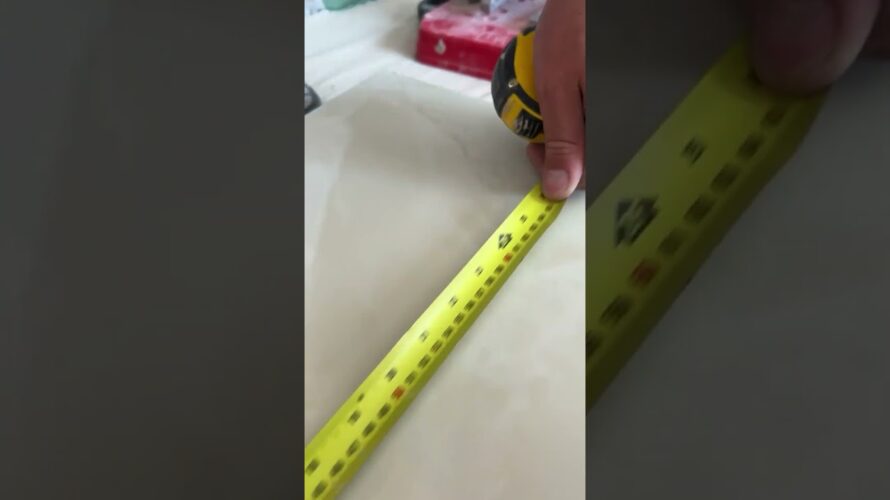
How To Tile Wet Room Floor ?
- 2024.09.02
- ROOM

Tiling your bathroom floor or shower area is an important step in creating a completely waterproof bathroom or shower area. Bathrooms are designed to have an open shower area without the need for a shower pan, making the entire floor waterproof and easy to clean. Here is a step-by-step guide to tiling your bathroom floor:
Step-by-step guide to tiling your bathroom floor:
1. Plan your bathroom layout:
Choose the right tiles: Choose non-slip tiles designed for wet areas. Porcelain, natural or ceramic tiles with a textured finish are ideal.
Choose waterproof materials: Use high-quality waterproof tile adhesive, grout and bathroom membrane to ensure long-lasting protection.
2. Prepare the subfloor:
Check the level: Make sure the subfloor is level, stable and free of cracks. Uneven floors may require a self-leveling compound.
Set the slope: Your bathroom floor should slope slightly toward the drain to ensure proper drainage. This can be accomplished by using a pre-made shower pan template or by applying the slope with self-leveling compound.
3. Install the waterproof membrane:
Apply primer: Before installing the waterproof membrane, apply a primer to the subfloor to improve adhesion.
Lay the membrane: Lay the waterproof membrane over the floor, making sure it extends at least 6 to 8 inches beyond the walls. Overlap all seams by at least 2 inches to prevent leaks.
Seal corners and joints: Use waterproof sealant tape to reinforce corners, joints, and areas around the drain. Apply a waterproofing liquid over the tape for added protection.
4. Install the drain:
Choose the right drain: Choose a drain that is suitable for the wet area and matches the slope of your floor. Linear or point drains are common.
Install the drain: Install the drain according to the manufacturer’s instructions, making sure it is securely connected to the plumbing and integrated into the waterproofing system. 5. Lay the tiles: Dry-lay the tiles: Lay the tiles on the floor without adhesive to plan the layout and minimize cuts. Start at the drain area and work outward to ensure the slope is maintained.
Mark the cuts: Mark the tiles that need to be cut to fit the drain, walls, or any other obstructions.
6. Apply the tile adhesive: Mix the adhesive: Prepare a water-resistant tile adhesive according to the manufacturer’s instructions.
Apply the adhesive: Using a notched trowel, apply a layer of adhesive to a small section of the floor, starting at the drain. Work in small sections to prevent the adhesive from drying out.
Lay the tiles: Begin laying the tiles, pressing them firmly into the adhesive. Use tile spacers to maintain even spacing between tiles for grouting. 7. Cut and fit tiles:
Cut tiles to size – Use a wet saw or tile cutter to cut tiles to size for edges, corners, or around drains. Smooth edges with tile sandpaper to avoid sharp corners. Work around obstructions – Make sure tiles fit snugly around drains, pipes, and other obstructions.
8. Ensure proper slope and level:
Check for level – Check regularly to make sure tiles are level and maintain proper slope toward drains to prevent water from pooling.
Adjust as needed – Adjust tiles before adhesive dries to ensure a smooth, level surface.
9. Let the adhesive dry:
Let the adhesive dry: Allow the adhesive to dry according to the manufacturer’s instructions, usually 24 hours. Avoid walking on the tiles during this time.
10. Apply grout to the tiles:
Mix the grout: Prepare the waterproof grout according to the manufacturer’s instructions.
Apply the grout: Use a rubber float to fill the joints between the tiles. Hold the float at a 45-degree angle and press the grout into the cracks.
Remove excess grout: Wipe away excess grout with a damp sponge before it hardens. Rinse the sponge frequently to keep it clean.
11. Seal the grout:
Let the grout dry: Allow the grout to dry completely, usually 24 to 48 hours.
Apply a grout sealer: Apply a waterproof grout sealer to the grout to protect it against stains and moisture. This step is especially important for grouting.
#homedecor #Interior #design #tiles #tilesdesign #sink #kitchensink #sinkdesign #washbasins #faucet #gujarattilesinfo #ceramicexhibition #ceramic #ceramics #ceramictiles #morbi #floortiles #ceramiche #morbitiles #ceramicreview #sanitaryware #bathware #expo #shorts #ytshorts
Download Apps of Tiles Directory
Play Store :
https://play.google.com/store/apps/details?id=com.essence.gujarattilesinfo
App Store :
https://apps.apple.com/in/app/gujarat-tiles-info/id915485358
You Tube Links : https://www.youtube.com/c/GujaratTilesInfo
FaceBook links : https://www.facebook.com/gujarattilesinfo
Linkedin : https://www.linkedin.com/in/gujarat-tiles-info-103718227/
Instragram : https://www.instagram.com/gujarattilesinfo/

